

Overview
The FoxReach n8n community node lets you connect FoxReach to hundreds of other apps - CRMs, spreadsheets, Slack, webhooks, and more. Create leads from form submissions, add them to campaigns automatically, and react to replies in real time.
This guide walks you through installation, setup, and three practical workflows you can build today.
Prerequisites
Before you start, make sure you have:
- A FoxReach account with an API key (Settings > API Keys)
- An n8n instance (self-hosted or n8n Cloud)
- At least one connected email account and a campaign in FoxReach
Step 1: Install the Node
In your n8n instance, go to Settings > Community Nodes and install:
n8n-nodes-foxreach
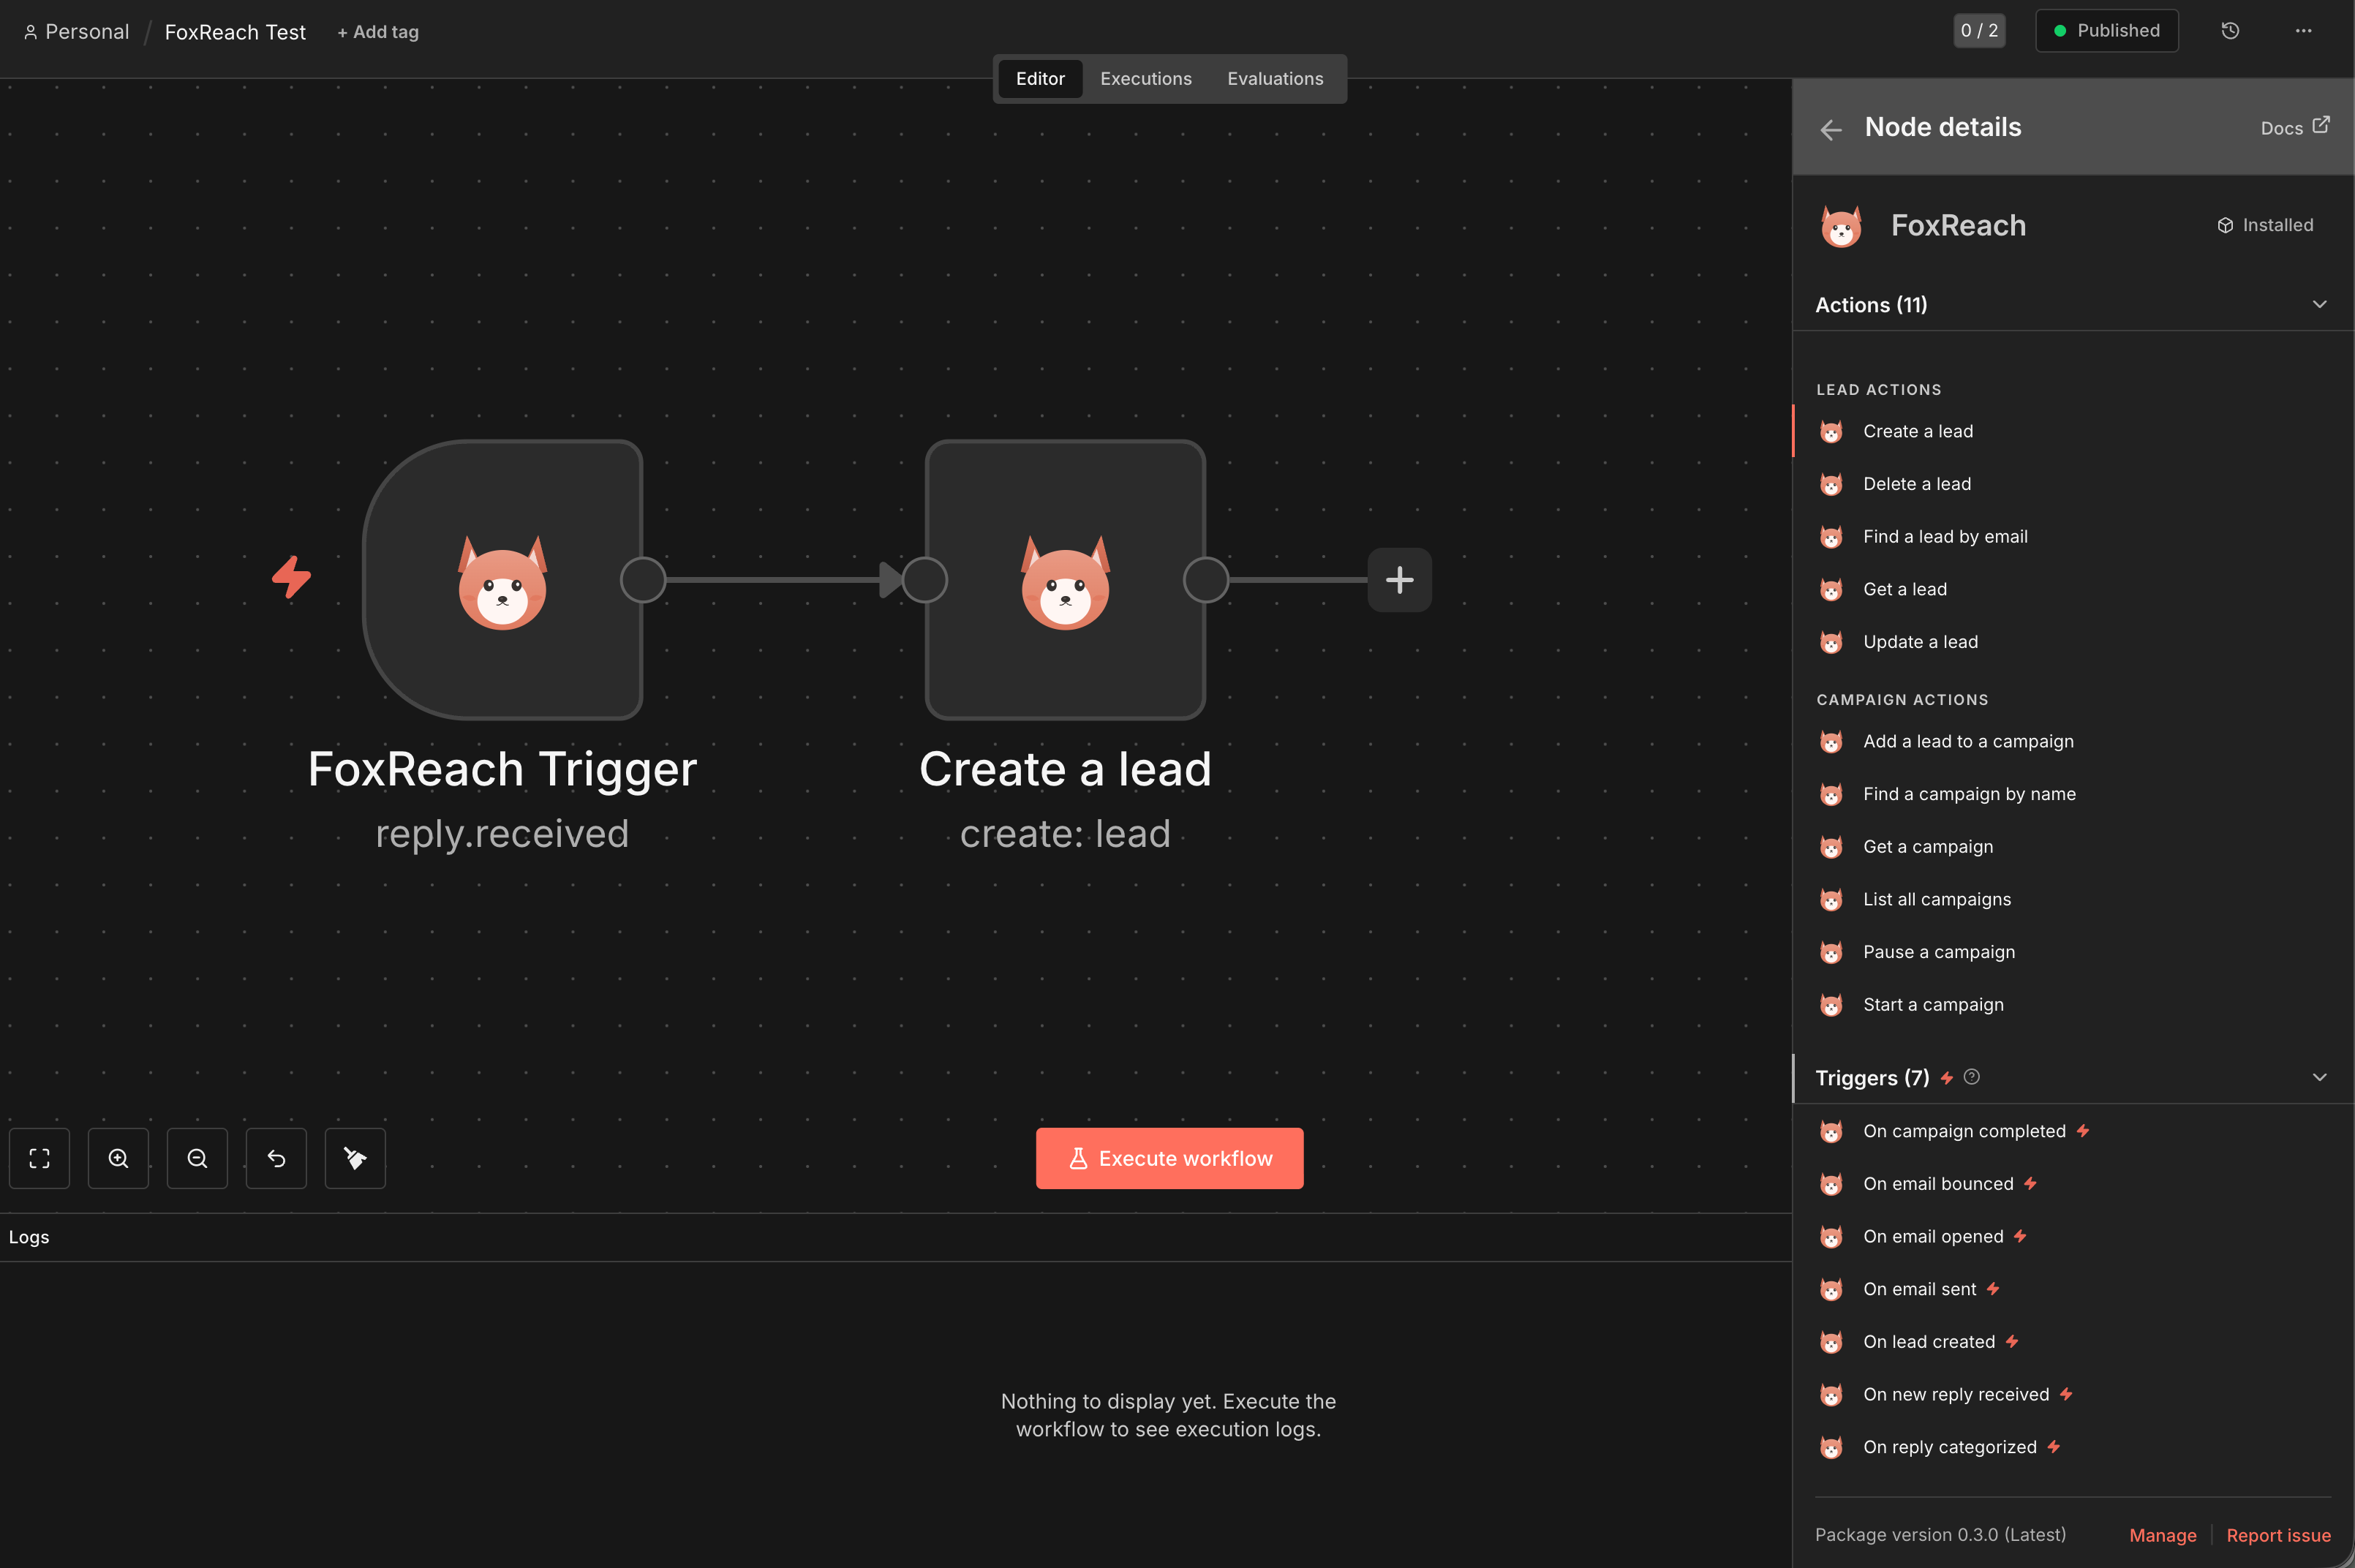
This adds two nodes to your canvas:
- FoxReach - Create, update, find, and delete leads; manage campaigns
- FoxReach Trigger - Start workflows when events happen (replies, bounces, opens, etc.)
If you're self-hosting n8n, you can also install via CLI:
npm install n8n-nodes-foxreachin your n8n root directory and restart.
Step 2: Connect Your API Key
- Open any FoxReach node on the canvas
- Click Create New Credential under the FoxReach API credential
- Paste your API key (starts with
otr_...) - Click Save - n8n will verify the connection
Your API key is stored securely in n8n's credential vault and sent as the X-API-Key header on every request.
You can generate API keys in FoxReach under Settings > API Keys. We recommend creating a dedicated key for n8n with read+write scope.
Available Operations
Lead Operations
| Operation | Description |
|---|---|
| Create | Add a new lead with email, name, company, and other fields |
| Get | Retrieve a lead by ID |
| Update | Modify any field on an existing lead |
| Delete | Remove a lead from your workspace |
| Find by Email | Search for a lead using their email address |
Campaign Operations
| Operation | Description |
|---|---|
| Add Lead | Add a lead to a specific campaign |
| Get | Retrieve campaign details by ID |
| Get Many | List all campaigns, optionally filtered by status |
| Find by Name | Search for a campaign by name |
| Start | Activate a paused or draft campaign |
| Pause | Pause an active campaign |
Trigger Events
The FoxReach Trigger node starts your workflow when these events occur:
| Event | Description |
|---|---|
| New Reply Received | A prospect replies to your outreach email |
| Reply Categorized | A reply is categorized (interested, not interested, etc.) |
| Email Bounced | A sent email bounces back |
| Email Sent | An email is successfully sent from a campaign |
| Email Opened | A recipient opens a tracked email |
| Lead Created | A new lead is added to your workspace |
| Campaign Completed | All leads in a campaign have been processed |
Workflow 1: Sync New CRM Contacts to FoxReach
Automatically create leads in FoxReach whenever a new contact is added to your CRM.
Nodes:
- CRM Trigger (e.g., HubSpot, Pipedrive, or Google Sheets) - fires when a new contact is created
- FoxReach > Create Lead - creates the lead with mapped fields
- FoxReach > Add Lead to Campaign - adds them to your outreach campaign
Setup:
- Add your CRM trigger node and connect it
- Add a FoxReach node, set Resource to Lead and Operation to Create
- Map the fields from your CRM: email, first name, last name, company
- Add another FoxReach node, set Resource to Campaign and Operation to Add Lead
- Enter your campaign ID and connect the lead ID from the previous step
Workflow 2: Notify Slack on Interested Replies
Get instant Slack notifications when a prospect shows interest.
Nodes:
- FoxReach Trigger - set event to Reply Categorized
- IF Node - filter where category equals "interested"
- Slack > Send Message - post to your sales channel
Setup:
- Add the FoxReach Trigger node, select Reply Categorized
- Add an IF node: check if
categoryequalsinterested - On the true branch, add a Slack node with a message template:
New interested reply from {{$json.senderEmail}}

Subject: {{$json.subject}}
Campaign: {{$json.campaignName}}

Reply: {{$json.body}}
Workflow 3: Auto-Pause Campaign on High Bounce Rate
Protect your sender reputation by pausing campaigns that are bouncing too much.
Nodes:
- FoxReach Trigger - set event to Email Bounced
- FoxReach > Get Campaign - fetch current campaign stats
- IF Node - check if bounce rate exceeds threshold
- FoxReach > Pause Campaign - pause it automatically
Setup:
- Add the FoxReach Trigger with Email Bounced event
- Add a FoxReach node to get the campaign details using the campaign ID from the trigger
- Add an IF node: check if the bounce percentage is above your threshold (e.g., 5%)
- On the true branch, add a FoxReach node with Pause operation
Tips
- Test with a single lead first. Before connecting a large data source, run your workflow manually with one item to verify field mapping.
- Use the Find operations. Before creating a lead, use Find by Email to check if they already exist. This prevents duplicates.
- Set up error handling. Add an Error Trigger workflow to catch failures - e.g., if a lead's email is already taken, the API returns a 409 conflict.
- Rate limits. The FoxReach API allows 100 requests per minute. For bulk imports, use n8n's batch processing with a wait node between batches.
Troubleshooting
"401 Unauthorized" error Your API key is invalid or expired. Generate a new one in FoxReach Settings > API Keys.
"404 Not Found" on campaign operations The campaign ID doesn't exist or belongs to a different workspace. Double-check the ID in FoxReach.
Trigger not firing Make sure the workflow is active (toggled on). FoxReach registers a webhook when you activate the workflow and removes it when you deactivate.
Duplicate leads The API returns a 409 error if a lead with the same email already exists. Use the Find by Email operation first, or handle the error with a try/catch pattern in n8n.
What's Next
The n8n node is currently in beta. We're actively adding more operations and improving the experience. Zapier and Make.com integrations are coming soon.
- Full API documentation: docs.foxreach.io
- Questions? Reach out via our contact page


